7 Best Deblur Software to Fix Out of Focus Photos [2023 List]
There’s no doubt that to many people, the photos they take throughout their life are totally priceless and not something which you can put a value on. But this can also cause a great deal of heartache because in today’s digital world it’s quite easy to lose your photos because your digital camera or smartphone goes wrong and has to be replaced or factory reset, memory cards are also prone to corruption so you might have to run photo recovery tools to try and get them back.
Losing your photos is one thing, taking the photo and later finding out it’s blurry or out of focus is quite another and very frustrating. Many things can cause this such as movement or shaking of the camera during the shot or simply setting the wrong focus and the camera thinks the objects in the shot are closer or further away than they should be. Most people would immediately delete these types of photos because they think the images are useless and cannot be fixed.
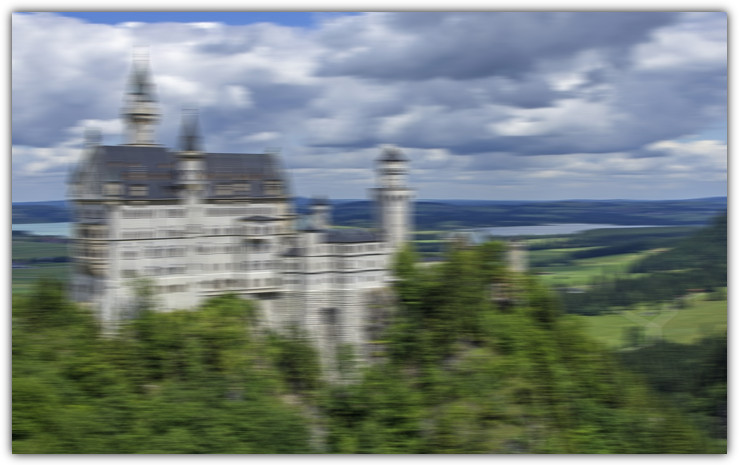
Thankfully that need not be the case and there are some tools around that claim to be able to refocus your blurred photos and bring them back to something like what the original would look like. Here we look at 7 free and paid image deblurring tools that may just save your treasured photos. The software was tested on Windows 7 but should also work on 8/8.1/Vista and possibly XP.
1. Focus Magic
Focus Magic is quite a well known shareware refocusing program and offers a number of filters to enhance or even degraded your image if you want. The filters are focus, fix motion blur, defocus, increase resolution and despeckle. The shareware version costs $65 for a lifetime registration, the trial does not watermark the output pictures but limits you to 10 conversions, after which you need to register.
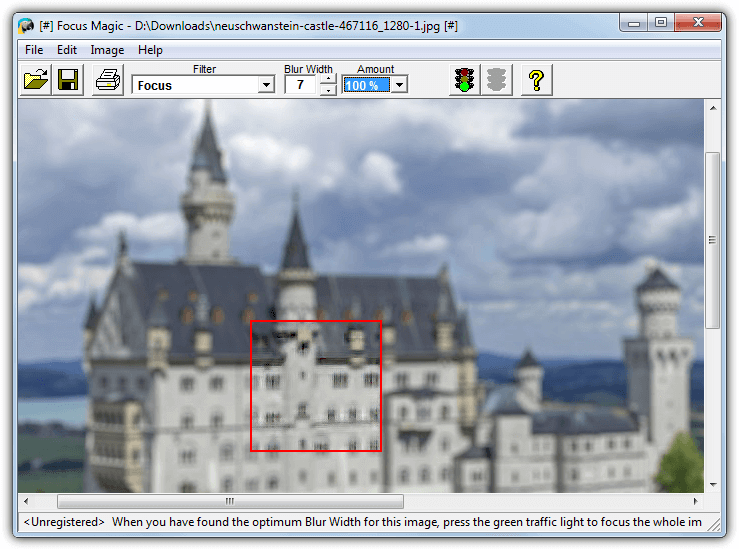
This one doesn’t have many options to play with, simply select the filter to use, load the image and click on an area that is blurred. A red box appears and inside will be the result of the filtering, if it doesn’t look good enough, adjust the distance/blur width or the direction/amount. As you only get 10 refocused images in the trial, make sure to move the red box around all areas of the picture that matter before clicking the traffic light to process and save. A cheat to get yourself another 10 conversions is running Focus Magic in sandbox software such as Sandboxie.
2. SmartDeblur 1.27 Free Version
SmartDeblur comes in two flavors, this is the now discontinued version 1 from 2012 which has been made open source, version 2 is shareware. This version is able to process three types of image blurring, which are out of focus, motion and Gaussian blur. A useful bonus is SmartDeblur 1.27 is also portable so you just need to extract it to the folder of your choice. Note we had a few crashes during testing so the program isn’t 100% stable.
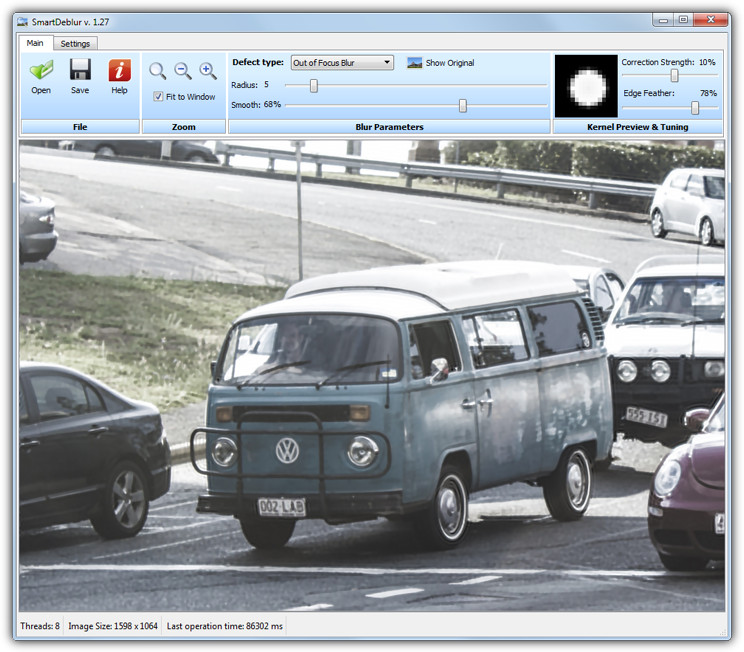
Another good thing about this program is the changes are previewed live in the window, so after you run it and open an image, simply select the Defect type and start moving the sliders to try and find the best settings to get the sharpness back to the photo. This is also the downside of SmartDeblur free because it can take a lot of time to get the slider settings just right and your image is as sharp and artifact free as possible. Once you have the right settings wait a few seconds for the full final render of the finished result and save the new image.
Download SmartDeblur 1.27 Free
3. SmartDeblur 2 Shareware Version
This is the successor to the free version of SmartDeblur and is shareware that costs $49 for the Home version or $98 for the Pro version. What’s new is the updated user interface, a more advanced kernel editor and a ringing suppression feature. One thing to note is you won’t be able to make use of the results in the trial because watermarks are placed all over the image.
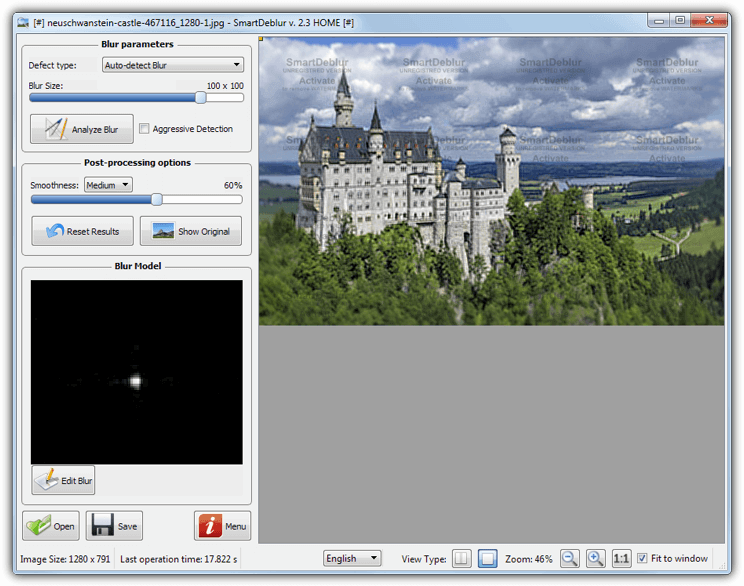
The updated program has also brought an auto detect mode that tries to decide what some of the best settings are for the best result, which is good because the free version relies more on your own trial and error with the sliders. You can also click on the image and create an area of analysis or just click Analyze Blur and let the whole image be scanned. The Blur Model editor is quite advanced and you will need to read through the documentation to get a better idea how it works.
4. DeblurMyImage
Compared to the other shareware applications here, DeblurMyImage is a more reasonable €14.99, so if you’re fine with buying a shareware application to unblur your photos, this would be one of the first to try. The main restriction in the demo version is you cannot save the images, although making the image as large as possible and then using Print Screen might give you a big enough final image.
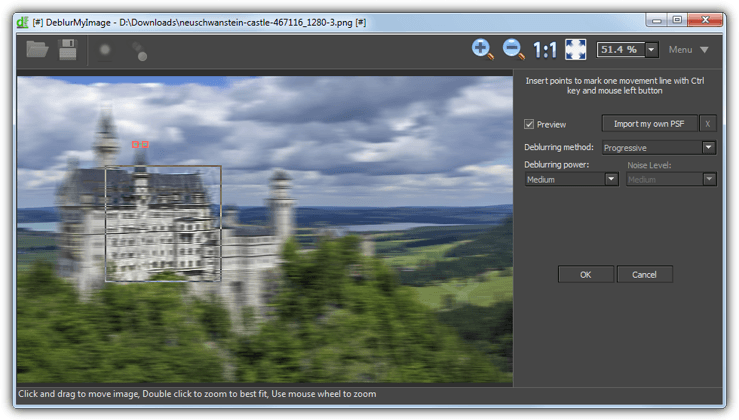
Usage is quite easy, install the program (32-bit and 64-bit options available), open the photo and click the icon near the top left for out of focus or motion correction. Then click the Preview box to show a live update on the picture and experiment with the slider and drop down boxes to look for the best quality result. Click Ok to apply it to the whole image and see the final result. Note that to remove motion blur you have to hold Ctrl and click points on the image to mark the direction of the blur.
5. Unshake
There are a few things that go against Unshake, even though it’s free. Firstly it’s based on Java which means you will need Java installed and it isn’t particularly fast when waiting for the resulting image to be produced, it’s also quite old dating back to 2006. The plus point about being Java based of course means Unshake runs on any operating system that supports it.
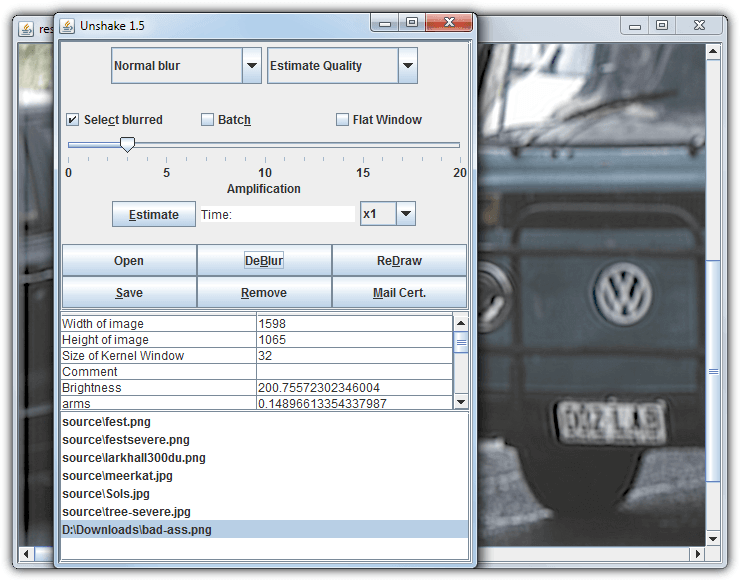
Unpack the zip and run Unshake from the Launch.bat file. After loading the image to process a few drop down menus offer normal/severe blur selection and how much detail quality to apply to the image, the default of Estimate quality will let the program decide. Finally select the strength of deblurring from the slider and click the DeBlur button. The problem with Unshake is the amount of time you have to wait for the image to process, which will be considerable for large images, and after every minor setting change you have to wait again before you can see if it worked.
6. RobustMotionDeblur
This program comes from Chinese University of Hong Kong and is actually a trial version but where you buy the full version and how much it costs is a mystery. The trial restricts you to a maximum output image size of 800×800 pixels but it doesn’t watermark so if you only want to sharpen some smaller images, this will work fine. RobustMotionDeblur is portable so no installation is needed.
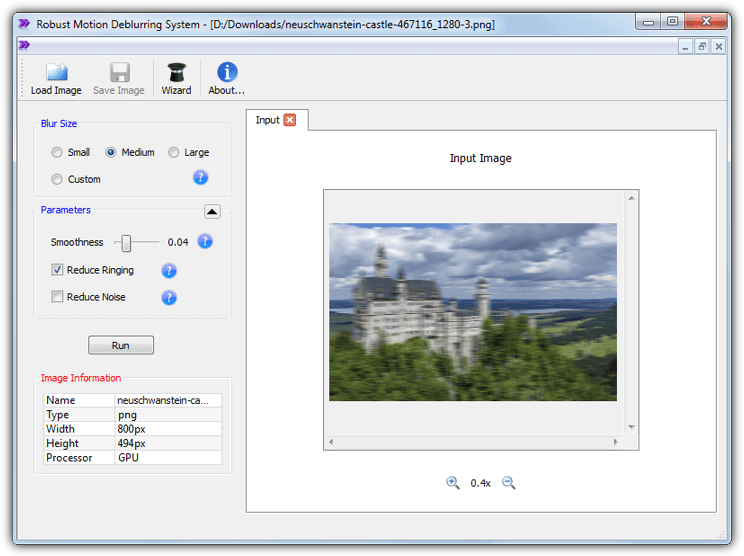
After loading an image a wizard pops up but it only asks how bad you think the blur is and whether you want to apply the deblur to the whole image. A few tweaking options are available like adjusting smoothness, ringing, noise and the blur size. A nice touch is each render is tabbed so you can see what the last edit looked like and the settings used. RobustMotionDeblur actually has two versions, the normal one and an enhanced version that will render the results faster if you have an nVidia CUDA enabled graphics adapter.
7. Blurity
Blurity is another shareware focusing and de-blurring tool, this one normally costs a rather high $99 (currently on offer for $79), a Pro version is in the works with a rather eye watering price of $249.
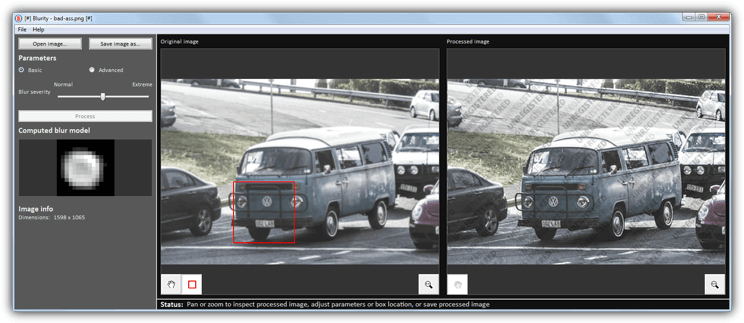
The program is pretty easy to use if you want it to be, open an image, click on an area of blur and then press the Process button. You may need to move the square around the picture to find the best spot. Alter the blur severity slider or open Advanced options and adjust the other sliders for more precise control. The processed image is heavily watermarked so you can’t save it but should be able to see if Blurity can offer good enough results before you consider parting with the large amount of money it costs.
Final Note:
The most important thing to note is no program really does a 100% perfect job because it’s inevitable you will lose some image quality in the sharpening process, many images are therefore not going to be of good printable quality. It’s also worth noting that the more blurred or out of focus the image is, the worse the final result will be, so a very slightly blurred photo will give a more satisfactory final image in just about all the tool above.
If we had to pick one, SmartDeblur free actually gave what we thought were just about the clearest and sharpest results for both out of focus and motion blurred photos, even better on average than it’s shareware counterpart. Being free, it’s a no brainer to try SmartDeblur 1.27 first as you have absolutely nothing to lose and might save yourself money by not paying for shareware that could end up doing no better. Results will vary from image to image though, so it’s still worth at least trying the shareware tools in case one hits the sweet spot and produces some great results.


User forum
12 messages