How to Install Intel Chipset Drivers on Windows: Step-by-Step
When I was in my teens and started to learn about fixing computers, one of the first thing I remembered learning was the proper order to install drivers. Installing Windows now is much more simplified and easy compared to Windows 95/98 because we don’t need to use a DOS bootup floppy disk, and the vast support of devices on Windows 7. Windows 98 didn’t support a lot of drivers and we need to spend quite a lot of time searching and downloading the drivers for chipset, display, sound, modem and printer on the internet using the slow 56Kbps dial up internet connection.
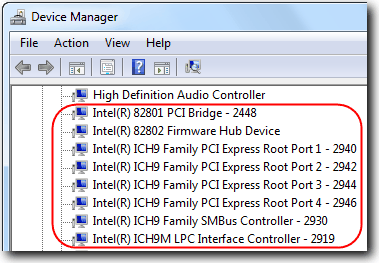
A very old friend of mine just called me yesterday asking me what and how to install chipset driver. Many people call it a chipset driver but in fact it is not a driver nor does it include drivers. It contains information text files (INFs) that provides the operating system with information about a piece of hardware on the system. This allows the operating system to show the correct name for that piece of hardware in Device Manager.
As far as I can remember, the first driver that I should always install is the chipset drivers once Windows installation has been completed, followed by the rest of the drivers. If you install the Intel Chipset Software much later, you will notice that it will not install all INFs.
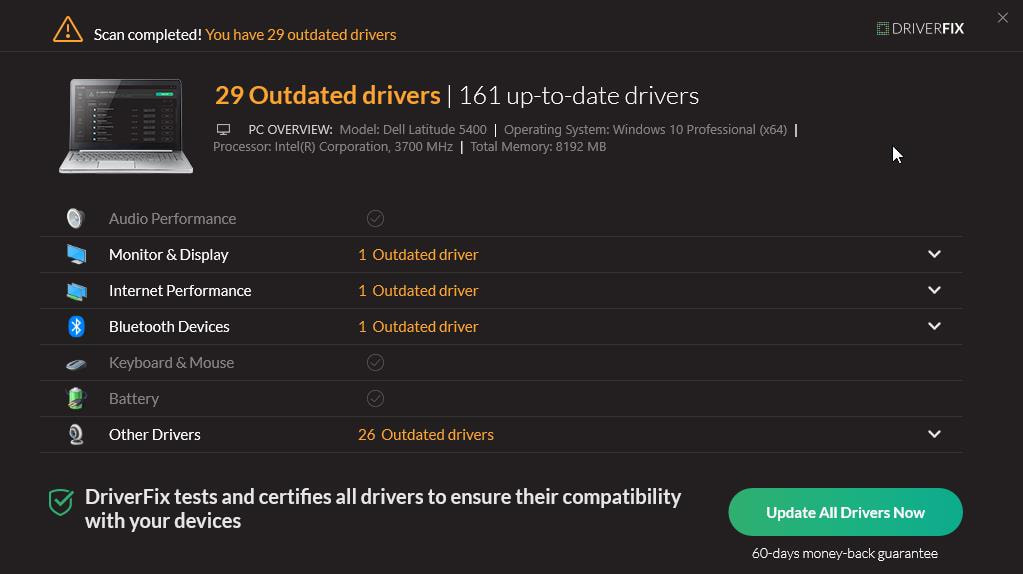
One method you can rely on is to use a third-party app like DriverFix.
DriverFix is a very popular driver-tracking tool that helps monitor your system drivers and ensure that it is up to date. Chipsets are responsible for controlling the regular communication that happens between different components of the system. With DriverFix, users can schedule scans of the Intel Chipset Drivers and automatically update.
Furthermore, DriverFix comes with a license key that can be used to make unique drivers and find any problems the user’s driver may have. This utility tool also has features that include; an automatic search for new drivers, reminders, and history. Additionally, DriverFix reduces the risk of losing your update due to device corruption because it makes it simple to back up and access driver downloads. To get the most out of the tool, you’ll have to sign up for its paid plans, and your operating system must be Windows.
Actually most of the time you’ll find that there is no need to install chipset software because it only gives a proper name for some Intel’s devices. If you prefer to install it but already installed Windows long ago, there is a trick to updates ALL INF drivers on all available devices even if third party drivers are currently installed. Meaning that if you’ve never installed the Intel Chipset software and would like to do it now, you can force the update by using the command below.
First you need to make sure that you have Intel chipset. You can run Intel Driver Update Utility which uses either ActiveX or Java to scan your system. Once the product detected shows that you have Intel chipset, then “manually” download the latest version of the Intel chipset software.
If you’ve downloaded the zip version, extract it and you’ll get the file name infinst_autol.exe. Instead of just running the setup file that you’ve just downloaded, you’ll need to run it with an extra command line -OVERALL switch. For example:
infinst_autol.exe -OVERALL
You will notice that the Intel Chipset software installs more INFs compared to just running the setup alone without the -OVERALL switch. Always remember the saying “if it ain’t broke, don’t fix it”. So don’t update your device drivers if everything is working well.

Improve this guide

User forum
26 messages