Create Full Windows Backup with Clonezilla to SAMBA or SSH Server
Downloading Clonezilla can be confusing for those unfamiliar with Linux OS or CPU architectures. There are ten different ISO/ZIP files available, each varying based on the version and architecture.
Don’t worry, though, Clonezilla will alert you if you download the wrong version.
How to download and install Clonezilla SMB
1. Installing Clonezilla
Clonezilla can be run from a CD/DVD or USB flash drive. If your computer cannot boot from USB, use the CD/DVD medium instead.
For creating a bootable USB flash drive, use Tuxboot, a free tool that helps you create a live USB. Tuxboot will either download Clonezilla or allow you to manually select an existing ISO file.
Alternatively, for disc installation, burn the ISO file to an empty CD/DVD using any of the recommended tools here.
2. Boot Up The Computer with Clonezilla
- Boot the computer using the CD/DVD or USB flash drive containing Clonezilla. Follow the on-screen instructions to select the boot device key.
- Choose the boot device (USB or CD/DVD) to start Clonezilla.
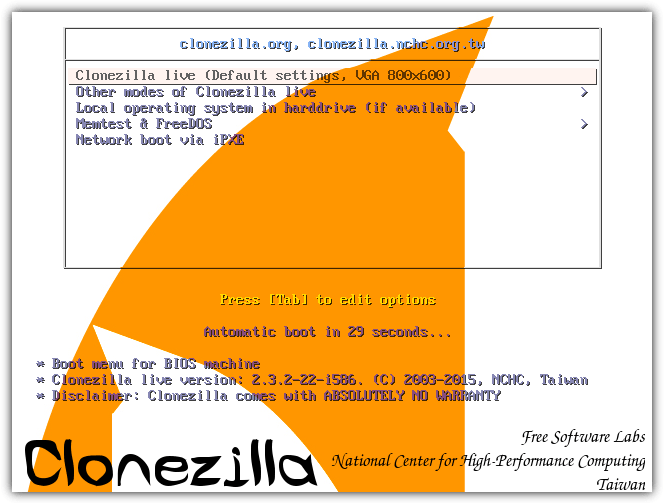
- After successful boot, you’ll be presented with the Clonezilla menu. For most users, the default settings should work.
3. Back Up the Computer with Clonezilla
For most users, the default settings should work. Simply press Enter to select:
- “English” as the language.
- “Don’t touch keymap” for keyboard settings.
- “Start_Clonezilla” to run Clonezilla.
- “device-image” to create a backup image.
To save the backup image to a network, we’ll configure Clonezilla to use SSH or Samba for remote storage.
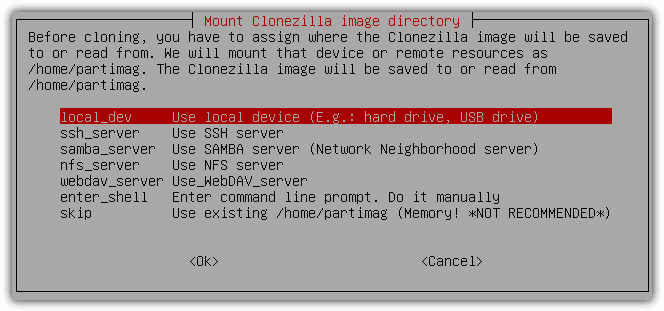
Backup Image to SAMBA Server
To save the backup image to a Windows computer on the network, use the SAMBA server option. SAMBA allows interoperability between Linux/Unix and Windows.
- Select samba_server and press Enter.
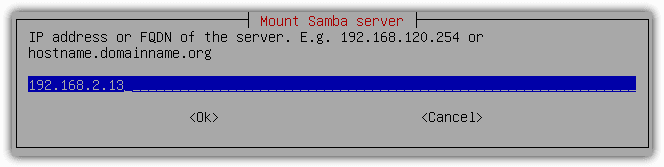
- Press Enter to use the default DHCP settings for network configuration.
- Enter the target IP address of the remote computer.
- If the remote computer is a Windows workstation, cancel and press TAB to proceed.
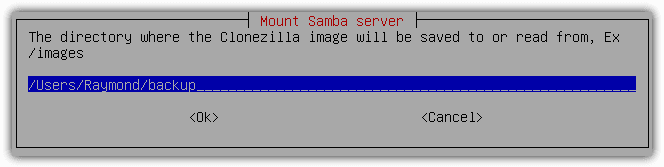
- Enter the username for the shared folder and specify the save path.
- The relative path can be determined by accessing the Windows Explorer.
- Select “auto Use system default” for security settings and press Enter.
- Enter the password for the username provided earlier.
- After verification, you’ll see the disk space usage details.
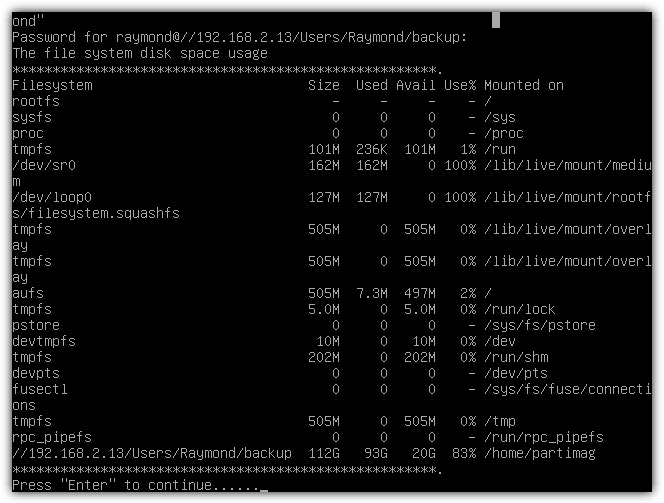
If there is an error such as “Failed to mount other device as /home/partimag,” press N and select rerun1 to return to the mounting options.
- Choose Beginner mode for simplicity.
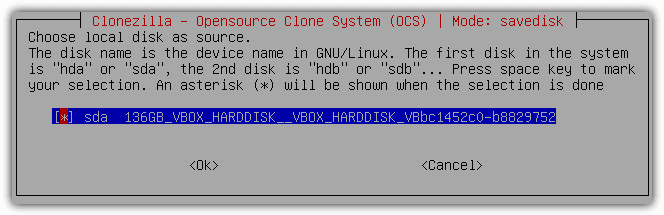
- Select savedisk for a full disk backup.
- Input a name for the backup image folder and press Enter.
- Choose the disk to back up if multiple disks are available.
- Optionally, check and repair the file system before saving.
- Verify the saved image by selecting check saved image.
- If you need to password-protect the image, select the second option.
Backup Image to SSH Server
If you prefer SSH for remote backup, install an SSH server on the destination computer. We recommend Bitvise SSH Server for easy SSH configuration.
- Download and install Bitvise SSH Server.
- After installation, the service will start automatically, ready to accept incoming connections.
For a comprehensive backup strategy, consider creating, backing up, and restoring Google Chrome profiles to preserve browser settings, or making full backups of iPods, USB drives, and MP3 players.
Don’t forget to back up your drivers for easier restores and backup and restore your Windows registry for system configuration preservation.

Improve this guide

User forum
17 messages