Copy Windows XP Installation Files to Local Hard Disk SourcePath
One of the common causes of Windows errors or crashing is because some system critical files have been corrupted or altered from their original state. This can be due to various reasons such as a malware attack, hard drive issues or simply turning the computer off unexpectedly while Windows is trying to write files, during a Windows update for example. Of course, users replacing files with incorrect or custom versions is also a possibility.
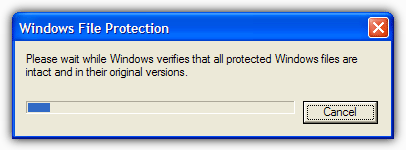
In Windows XP there is a protection measure called Windows File Protection that constantly monitors important system files for changes. It attempts to replace them if they are removed, replaced or altered in any way and the digital signature is not the same as Windows expects. For example, if you were to go and rename the Explorer.exe file (obviously don’t try this), within a few seconds there will be a new Explorer.exe pop into its place. This is because Windows holds a good copy of these core files in the System32 folder.
When it needs to replace a corrupted or missing system file, Windows XP will look in a folder called dllcache located in C:\Windows\System32. If there is a problem with the file in the dllcache also not matching the digital signature, or there is no file present, then Windows will look in the next place on its list which is the i386 folder on the original Windows XP installation CD. The dllcache folder is hidden by default so unless you have the show hidden files setting turned on in Explorer, you won’t see it.
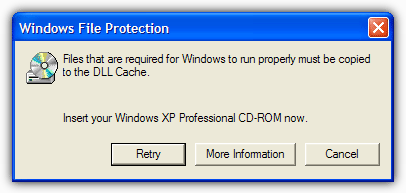
This occurs quite often when you need to run the System File Checker (SFC) utility from the Command Prompt using the SFC /Scannow command. If SFC finds any issues it will attempt to replace the files using dllcache as the source, or failing that, the i386 folder location. Then you will get the dreaded “Insert Disk” dialog box.
The handy thing is, there’s a setting to tell Windows where to look for the i386 folder held inside a registry key, meaning it can be changed to another location. Altering the setting to tell Windows to look for i386 on another drive means you can avoid having to insert the CD every time you run a System File Check and it requires a good copy of a file that isn’t in the Dllcache. The procedure is quite easy, so here’s how to do it:
1. Insert the Windows XP install CD to computer. Make sure the CD has the same Service Pack as you have on the install. If you’re using XP SP3 ensure you have an XP SP3 CD. Also remember to use the correct Home or Professional version CD for your install.
2. Copy the i386 folder from the install CD to the root of the C drive so you will end up with a path of C:\i386\. IF you are not using languages other than English, you can go into the i386 folder and delete the Languages and Win9xmig, Win9xupg and Winntupg folders to save around 130MB of space.
3. Go to Start -> Run (or press Win key+R), type regedit and press Enter.
4. Navigate to the following registry key.
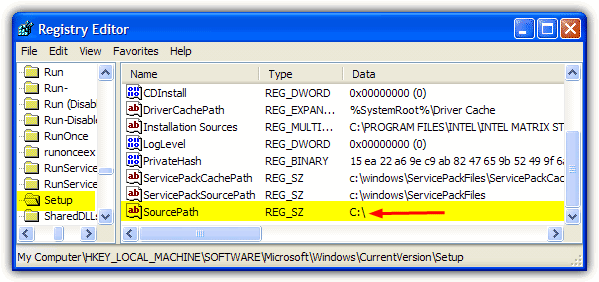
HKEY_LOCAL_MACHINE\SOFTWARE\Microsoft\Windows\CurrentVersion\Setup
5. In the right pane, you should find a Name called SourcePath with the Data value as the drive letter of your CD-ROM drive. Double click on the SourcePath entry and change the value data to C:\.
Now whenever Windows looks for the original installation files, it will automatically look on your local hard drive for the i386 folder instead of constantly nagging you to insert the CD. You can place the i386 folder on any drive or in any folder you wish, Windows will look wherever you tell it to, just supply the path up to but not including the i386 folder (e.g. D:\backups\Windows\cache\).
Although this should work, there are other keys in the registry that could still cause Windows to ask for the CD. Firstly navigate to the following key:
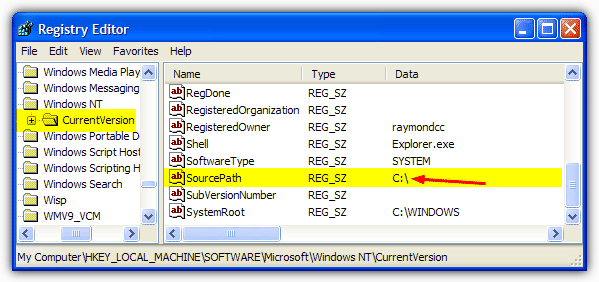
HKEY_LOCAL_MACHINE\SOFTWARE\Microsoft\Windows NT\CurrentVersion
Look for the Name SourcePath, and IF it is present, double click and change it to the same path you supplied to the SourcePath in step 5 above.
Another possible problem is if you have installed a Service Pack such as SP3 onto your install because the system will look for the C:\WINDOWS\ServicePackFiles\ folder to locate all the files the Service Pack installed. The below key should have a Name ServicePackSourcePath present which points to C:\windows\ServicePackFiles
HKEY_LOCAL_MACHINE\SOFTWARE\Microsoft\Windows\CurrentVersion\Setup
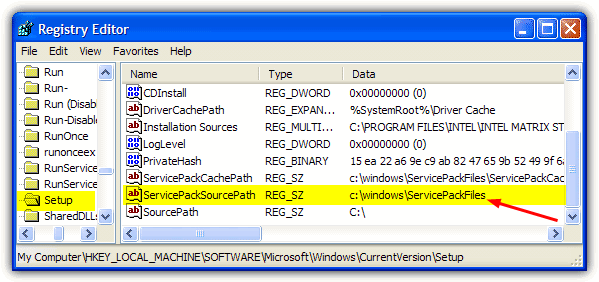
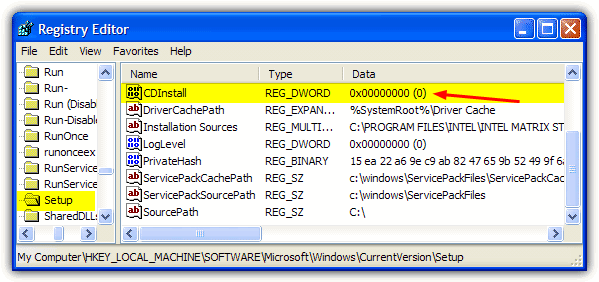
The last entry to check is in the same location as above but is called CDInstall. If set to 1 it tells Windows it was installed from CD and may try to look for a CD even though you have told it not to. Setting this value to 0 tells Windows it was installed from hard drive or network.

Improve this guide

User forum
17 messages